iOS 16 — LockScreen widget
Hey Guys! I am back after a long break. Recently iOS 16 had been launched and as usual Apple make us mesmerised by their new updates.
I was really impressed with new LockScreen updates made by Apple for iOS 16. Especially “Multilayered photo effect” and “Lock Screen Widgets”. Now Am gonna show the steps to implement LockScreen widget with SwiftUI.
Requirements:
Xcode Version: 14.0+ (Beta)
Simulator Version /iPhone Version: iOS 16+
WidgetKit and WidgetExtension
From Developer portal, WidgetKit is
Easily build widgets and make them available in iOS, iPadOS, and macOS using the WidgetKit framework and the widget API for SwiftUI. Now you can use WidgetKit to create widgets for the iPhone Lock Screen, as well as complications in watchOS. And later this year, you can create Live Activities to deliver real-time updates.
Implement LockScreen Widget
Create a new Project by File -> New -> Project from Xcode. Make Sure What platform you are choosing. Here i select iOS only.

Give name for the project we’ve created and make sure youv’e selected SwiftUI and other options like tests and Interface.

Now Add widget Extension to create lockscreen widget. And Don’t forgot to activate the extension. You can add it from project file, a target list is there. Press plus icon and extension List will be shown.
Use search bar to choose widget extension from List. And add it to the newly created project and Activate.

Now Extension added in Project like this. One plist, one intents file and View file.

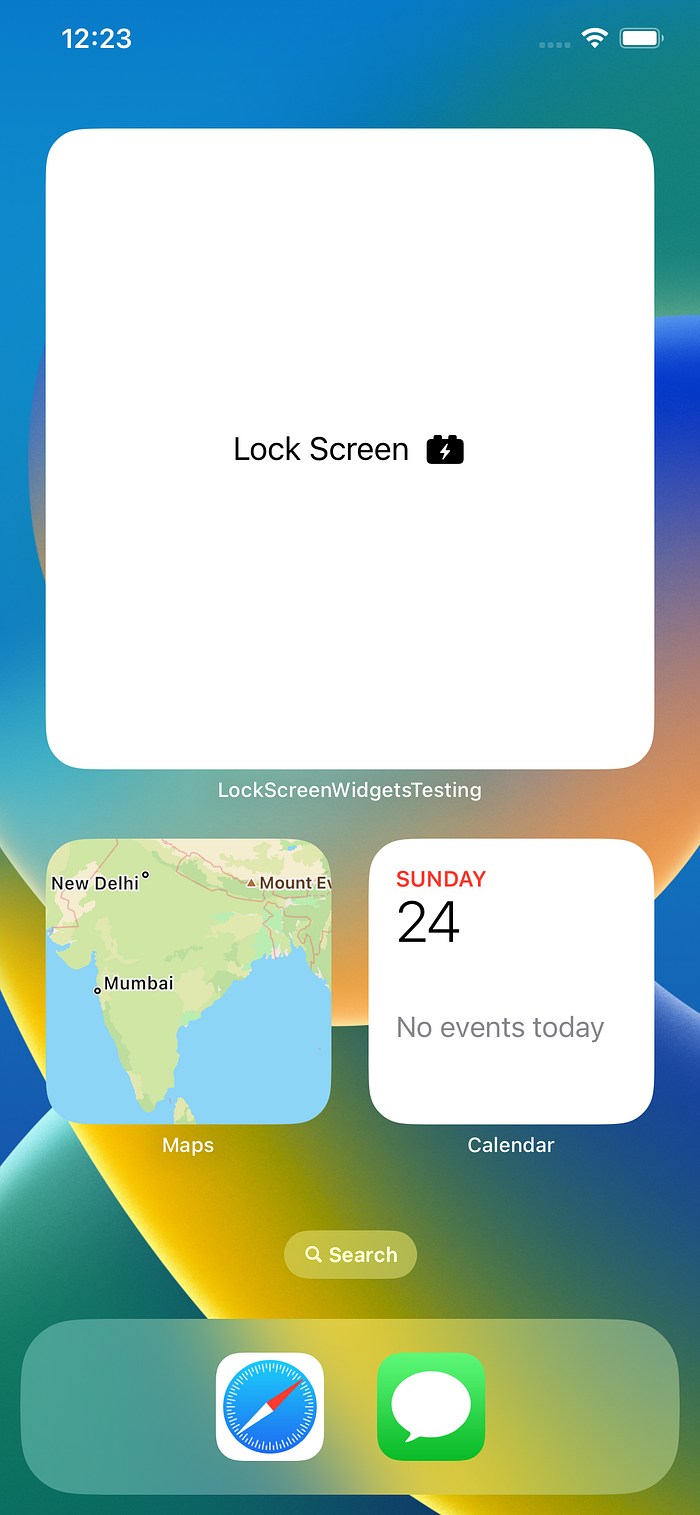
Now if you run the project, it shows widget only in home screen. We have to add some code bae 😜 action to activate widgets in lock screen.
Start customising the widget view in Entry View. I am gonna create a horizontal stack with text and system image. The code Initially looks like below.
struct LockScreenWidgetExtEntryView : View {var entry: Provider.Entryvar body: some View {Text(entry.date, style: .time)}}
Now we have gonna add some code bae action 🤌🏼.
@Environment(\.widgetFamily) private var familyEnvironment — A property wrapper that reads a value from a view’s environment.
widgetFamily — The template of the widget — small, medium, or large.
We can get what type of widget is selected by user from family variable. Based on the design we will design out widget UI accordingly.
I added some simple code for each style for beginning learning purpose.
var body: some View {switch family {case .accessoryCircular, .systemLarge, .systemExtraLarge: VStack{HStack{Text("Lock Screen")Image(systemName: "bolt.batteryblock.fill")}}case .accessoryRectangular: // Rectangular largeVStack{HStack{Text("Lock Screen")Image(systemName: "bolt.batteryblock.fill")}}case .accessoryInline: //RegularHStack{Image(systemName:"cloud")Text("36°")}default:Color.purple}}
Now run the code.
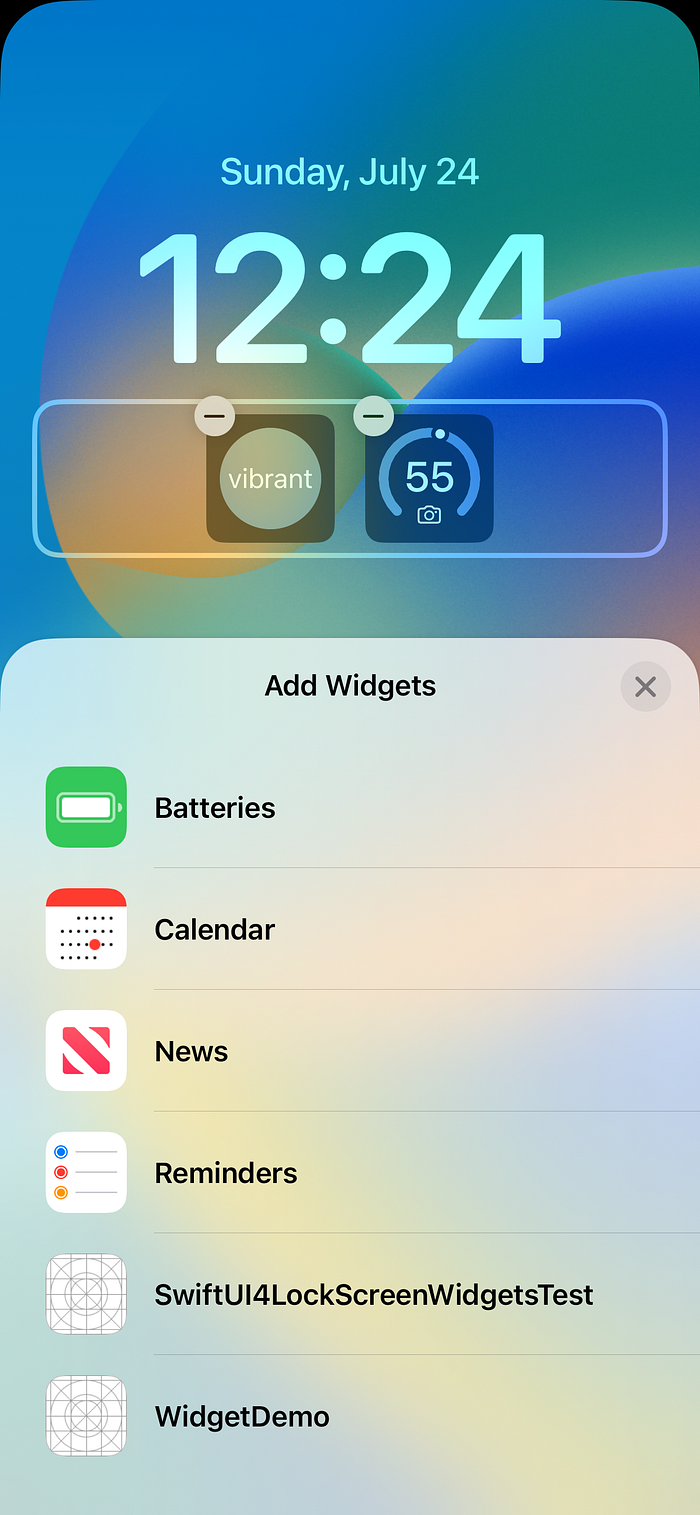
Oops!🫢. Out project won’t list in Lock Screen widget.
Yes! Have to do one more action in @main function. Yes Have to mention support to widget.
.supportedFamilies([.accessoryCircular,.accessoryRectangular,.accessoryInline, .systemLarge, .systemExtraLarge])I just gave here accessoryCircular, accessoryRectangular and accessoryInline to support all type of lock screen widget.
supportedFamilies — Sets the sizes that a widget supports.
Now run the code.

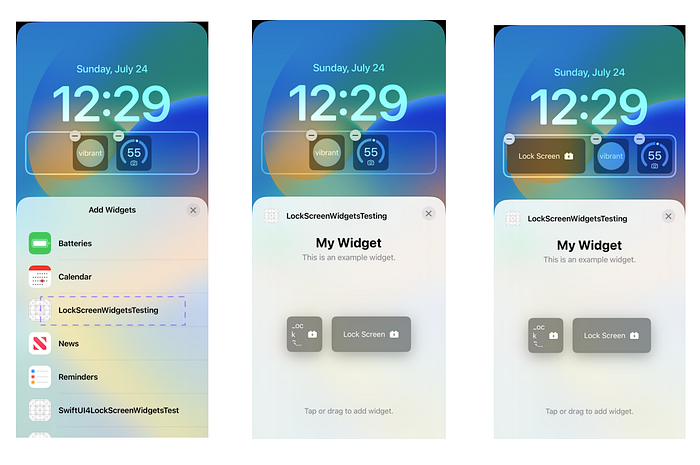
Finally our app shows in lock screen widget list. I just push this code in my repo as pubic one.Kindly get the code from https://github.com/LyvennithaQgen/LockScreenWidget. Follow for more exciting unique contents. Request Swift things in comments.